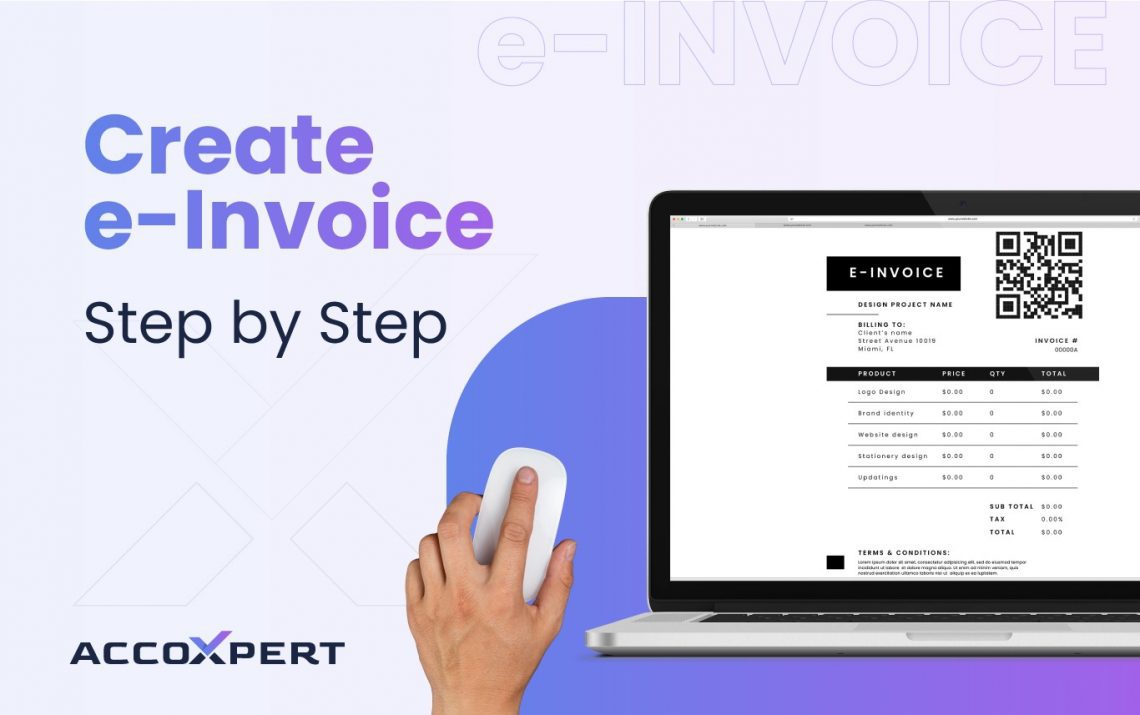
In today’s fast-paced business world, efficiency is key. Transitioning to electronic invoicing (e-invoicing) can significantly streamline your invoicing process, saving time and resources while ensuring compliance with regulatory standards. With AccoXpert, creating e-invoices has never been easier. In this comprehensive guide, we’ll walk you through the step-by-step process of creating e-invoices using AccoXpert.
Step 1: Sign Up for AccoXpert
If you haven’t already, sign up for AccoXpert and create your account. Simply visit our website and follow the registration prompts. Once registered, log in to your AccoXpert account to begin creating e-invoices.
Step 2: Navigate to the Invoicing Module
Once logged in, navigate to the Invoicing module within AccoXpert. Here, you’ll find all types of sales invoices like Tax invoice, Bill of supply, Credit note and Debit note.
Step 3: Create a New Invoice
To create a new e-invoice, click on the “Create New Invoice” button. This will open a blank invoice template where you can input all the necessary details.
Step 4: Enter Invoice Details
Start by entering the relevant invoice details, including the recipient’s information, invoice number and invoice date. AccoXpert provides user-friendly fields and dropdown menus to make this process simple and intuitive.
Step 5: Add Line Items
Next, add line items to your invoice to specify the products or services being billed. Enter the item description, quantity, unit price, and any applicable taxes or discounts. AccoXpert automatically calculates the total amount based on the line items entered.
Step 6: Customize Your Invoice
AccoXpert allows you to customize your e-invoice to match your branding and preferences. Add your company logo, choose a color scheme, and customize the layout and design to create a professional-looking invoice that reflects your brand identity.
Step 7: Review and Verify
Before finalizing your e-invoice, take a moment to review and verify all the information entered. Double-check the accuracy of the invoice details, ensure that all line items are correctly listed, and confirm that the total amount is accurate.
Step 8: Send Your E-Invoice
Once you’re satisfied with the invoice, it’s time to send it to your customer. AccoXpert offers multiple delivery options, including email, PDF download, and online portal submission. Choose the method that works best for you and your customer, and click “Send.”
Step 9: Track and Manage Your E-Invoices
After sending your e-invoice, use AccoXpert to track its status and manage your invoicing workflow efficiently. Monitor invoice delivery and receipt, track payment status, and follow up on overdue invoices as needed.
With AccoXpert, creating e-invoices is a breeze. By following these simple steps, you can streamline your invoicing process, save time and resources, and ensure compliance with regulatory standards. Embrace the power of e-invoicing with AccoXpert and take your invoicing process to the next level of efficiency.


